
The Stripe integration with WishList Member was developed to create a shortcode for a payment button that gets inserted onto a page or post. A user can click that button and the payment popup will appear so they can purchase and register to gain access to the membership site.
But, there are also options you can use to insert either an image as the payment button or use a text link for payment/registration. These options provide a bit more flexibility when it comes to how your Stripe payment button or link will appear.
—
Inserting a Stripe Payment Button onto a Page
WishList Member mergecodes or shortcodes can be inserted onto a page or post by using a Classic Block in the WordPress Gutenberg editor. More details on using the Gutenberg editor to insert shortcodes can be found in this Knowledge base entry.
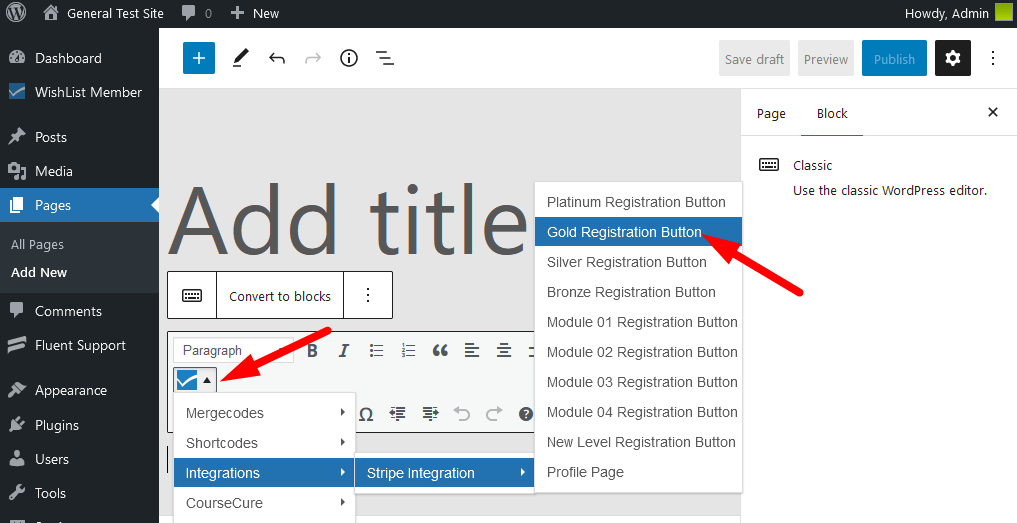
You can insert a Stripe payment button onto a page by clicking the blue WishList Member icon > Integrations > Stripe Integration > *Level Name* in a Classic Block.
—
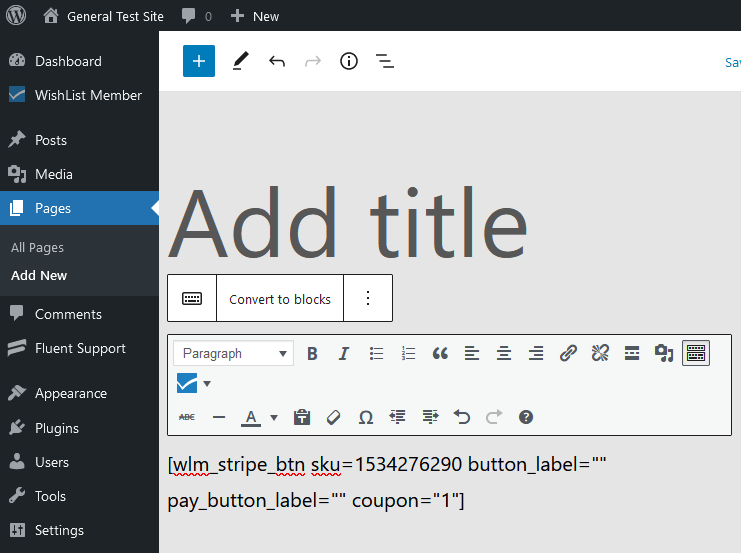
Once you have inserted the Stripe payment button shortcode onto the page, you will see the code in the edit page section.
—
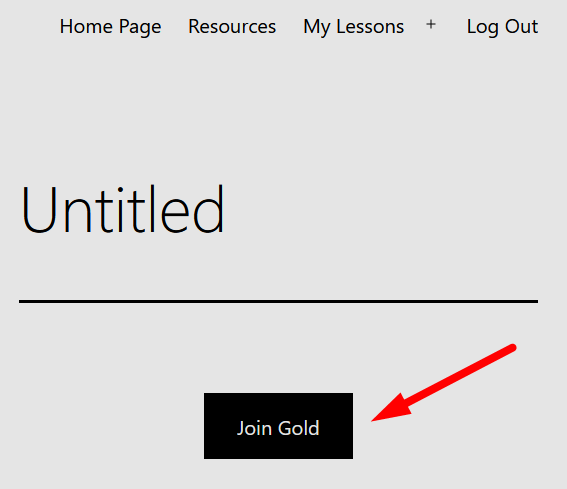
The Stripe payment button will now appear on the live page. Please note, the look and design of the button is based on the theme being used on the site.
—
If you want to create your own payment button or make it a text payment link, you can insert your own image/text into the shortcode. Once you have set up the integration with Stripe, you can insert the shortcode using the method above or by manually using the following shortcode format:
[wlm_stripe_btn sku=XXXXXXXXXX] [/wlm_stripe_btn]You will just need to insert the image or text you want into the shortcode. More details on each option is included below.
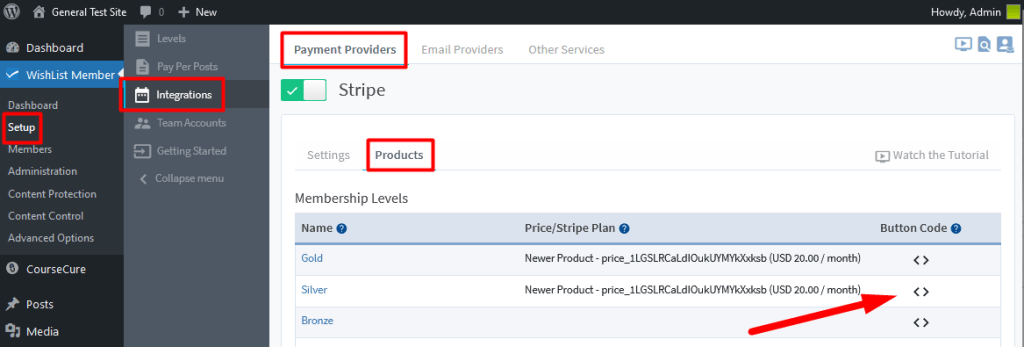
You can also easily copy the payment button shortcode in the Setup > Integrations > Payment Providers > Stripe > Products section of WishList Member.
—
Create Stripe Text Link
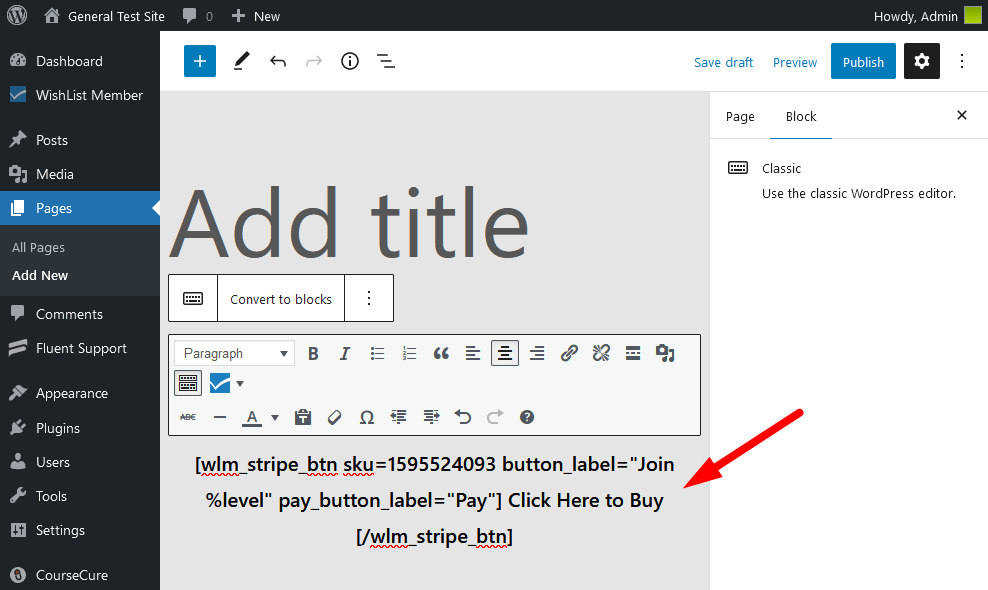
Below is an example of a Stripe shortcode that could be inserted and would show a “Click Here to Buy” text link. The words “Click Here to Buy” have been added to the shortcode in this case. You could copy the example shortcode below and replace those words with the text of your choosing.
[wlm_stripe_btn sku=1595524093 button_label="Join %level" pay_button_label="Pay"] Click Here to Buy [/wlm_stripe_btn]The screenshot below shows that shortcode inserted into a WordPress page.
—
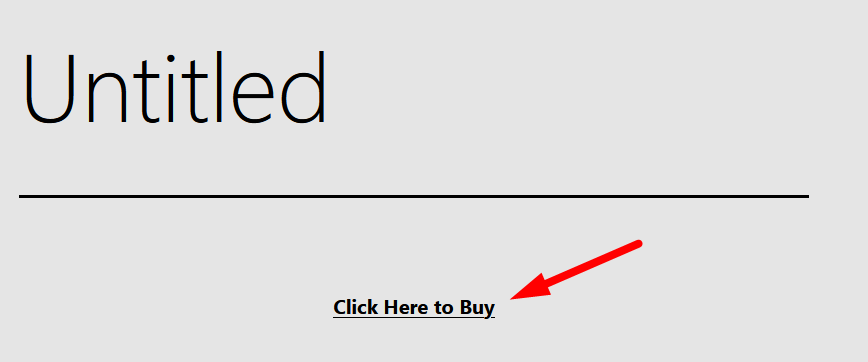
That text payment link will now be displayed on the live site. Anyone who clicks that link will see the payment popup powered by Stripe and can purchase access to the membership.
—
Create a Stripe Payment Button/Image
Below is an example of a shortcode that could be inserted and would show an image as the payment button. The example uses a Buy Now image that has been uploaded to the Media section of the WordPress site.
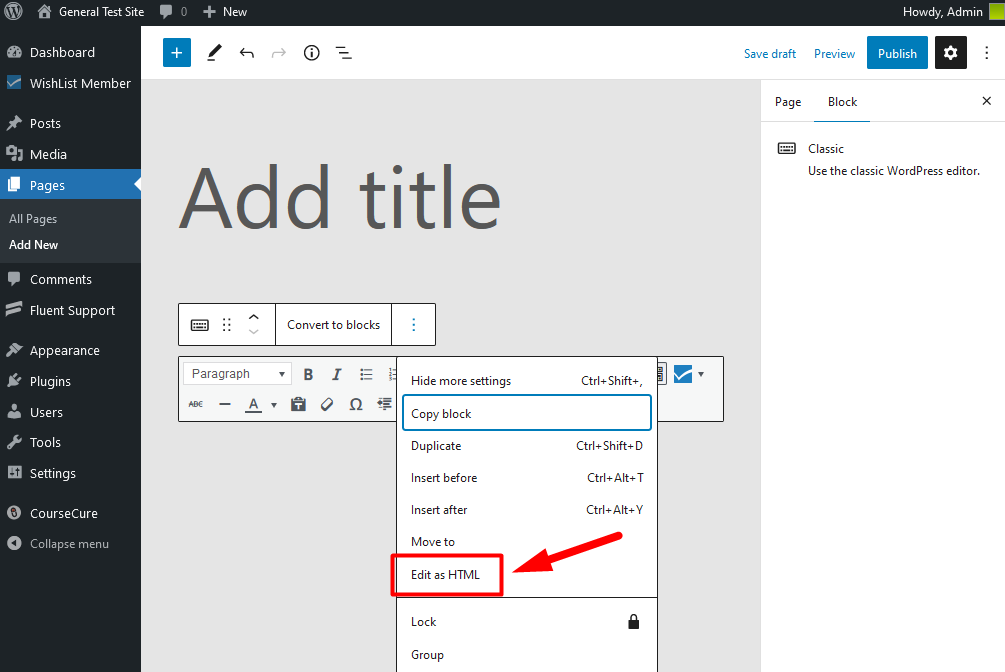
You can use a Classic Block in the Gutenberg Editor and select the Edit as HTML option.
—
You can then paste in the following shortcode.
[wlm_stripe_btn sku=1595524093] <img src="urloftheimage" />[/wlm_stripe_btn]This example includes some additional formatting being applied to the button.
[wlm_stripe_btn sku=1595524093 button_label="Join %level" pay_button_label="Pay"] <img class="alignnone size-thumbnail wp-image-40" src="https://wlmtest.com/wray/wp-content/uploads/2020/08/buy-now.png" alt="" width="150" height="52" />[/wlm_stripe_btn]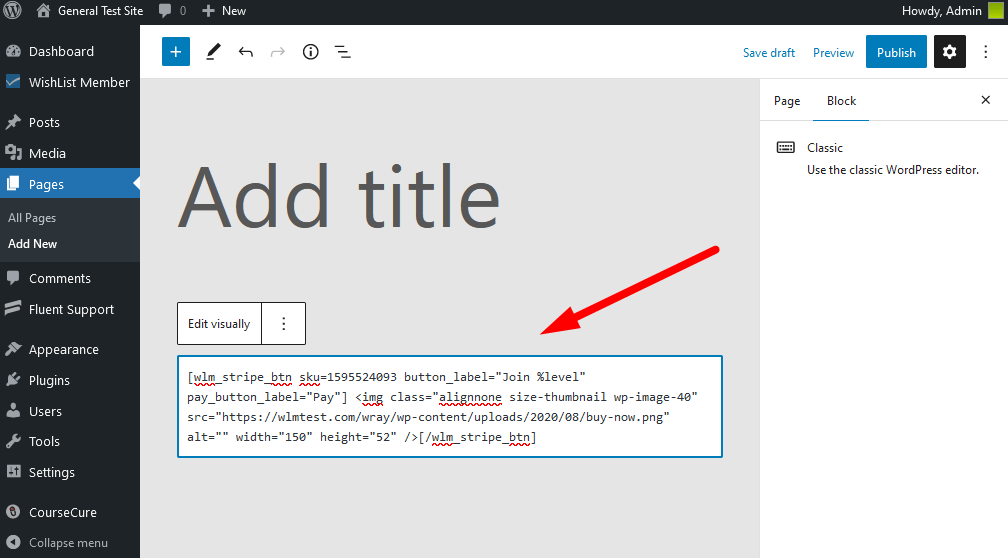
—
That payment button/image will now be displayed on the live site. Anyone who clicks that button will see the payment popup powered by Stripe and can purchase access to the membership.

—
The options mentioned above allow you to apply some additional customization to the shortcode so the button or text link appear how you would like.
