Now, wouldn't it be amazing if you can automate tasks on your website? In today's video, that's exactly what I'm going to show you.
Coming up.
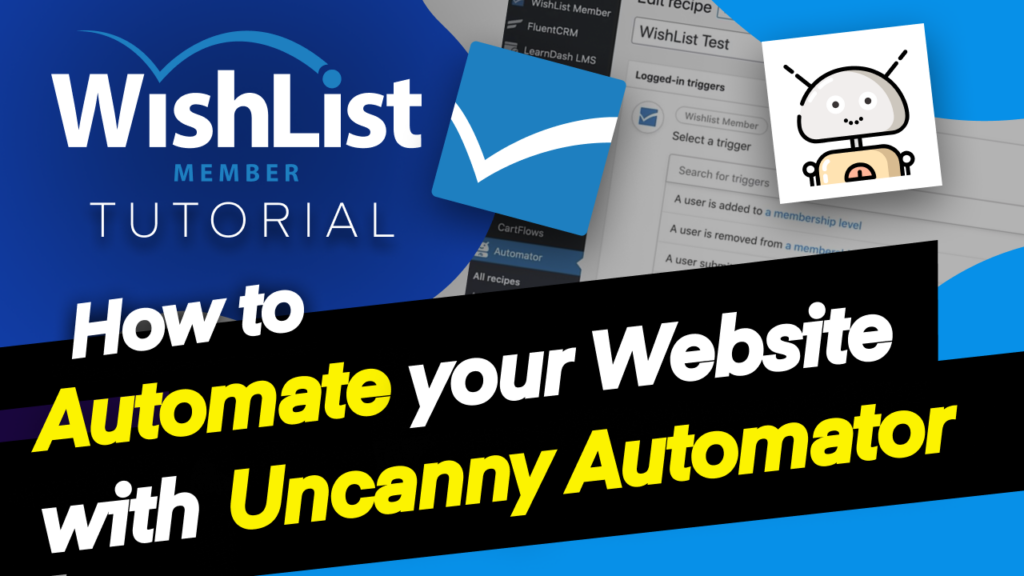
Hello, everyone, and welcome. My name is Mak, and in today's video, we're going to be talking about adding a Plugin, which applies “Automations” on your website. And this integrates very, very well with WishList Member. The Plugin is called Uncanny Automator.
Let's check it out. So I've already gone ahead and installed it. It's called Uncanny Automator. So let's come over here to the Plugin so I can show you where it is. So I'm going to come over here to “Installed Plugins” so I'm going to come all the way down here. And here it is.
So you want to first install the free one is called Uncanny Automator. Now, this one here has more integration. So this is why we need to use the Pro version. OK, once installed, you're going to get an entry over here on the left. So as you can see, it's called Automator. So if I click here, it's going to take us now to Automator. So how this works is if you click here on Add New, this is where it's going to give you all the options.
So if you have WishList Member already installed, this is going to be automatically added onto Uncanny Automator. All right. So now we can choose either for logged in users or anonymous. So let's go to logged in and click on Confirm.
OK, so now we can see all the integrations here. And this is fantastic because you can also use WooCommerce here. So let's say, for example, someone buys something here in WooCommerce. You can automate that. They are added automatically here to WishList Member. OK, so let's take a look here on WishList Member and see how we can automate our tasks. So I'm going to call this WishList. OK, let's call it “WishList Test”. Right.
I'm going to click here on WishList Member. So as you can see, these are the “Automations” that we can do. So if a user is added to a Membership Level, a user is removed from a Membership Level, a user submits a registration form and so on. So let's say we want to add a trigger when someone gets added to a Membership Level. So I'm going to go ahead and click on that so we can choose our Membership Level here.
And here they are, there's “Free Audio, “VIP Mak,” “Black Friday,” and “New Level.” Now you need to create these Membership Level beforehand for them to show here. Otherwise this process won't work. So I want to go and select VIP member click on Save. Right. So I've added that trigger. You can also add another one here and this could also be a WishList Member, Learndash or whatever it is. But we're just going to stick to that one.
OK, next, we're going to come over here now to the actions. So here on the action, we can just click on this plus button to add. So we want that when someone gets added to that Membership Level, we can just decide what we want to do here. So let's say you want to add them to a mailing list so you can just click here on FluentCRM, and then we can say, right, you know what?
We want to add a tag when someone gets added to that Membership Level. Now, once that tag is added, you know, you can use FluentCRM to then automate emails to go out. OK, so now let's add the tag to the user. So I'm going to click on add tag to user so the tag here could be VIP. Now remember, I've created these these tags beforehand, so that's why it's easy for me to find these tags.
So I'm going to click here on Save. OK, so basically what we've done here is when someone gets added to the VIP Membership Level, OK, we are going to add this tag, which is called a VIP in FluentCRM, and we can also redirect them once this is completed. But you know what? I'm going to leave this as it is. So once this is done, the next step now is to come over here and move this from draft to live.
This is what makes this work.
So now that this is all said, I'm going to show you now why it is important to add the tag. Let's say you want to send an email or a sequence of emails to this person that has purchased or has been added to the VIP Membership Level. This is where now you can come to FluentCRM, and click on “Automations” and you can now create an automation here based on that level. So let's say WishList Test. OK, so this is our automation.
So here what we can do is we come over here to CRM and remember we applied the tag, so we're going to say tag applied and then continue. OK, so here is where we can find that tag. And remember, we use the tag VIPis, so we select it, and now that it's selected, I'm going to click on Save Settings. So now I can add all these actions to my “Automations” so I can send my email campaigns here based on that tag.
So as soon as that tag is added here now I can send my emails, I can add more tags, “Automations,” offers and so on. So this is just one example of how you can use Uncanny Automator. There are several ways that we can use this with WishList Member, and I'm going to be showing you a lot of these use cases to better automate your website. This is very, very powerful. And it would be nice if you could implement this on your website to make it really work behind the scenes for you.
All right, guys, that's all I have for you in today's video. Thank you very much for watching.
I'll see you in the next video. Take care.
