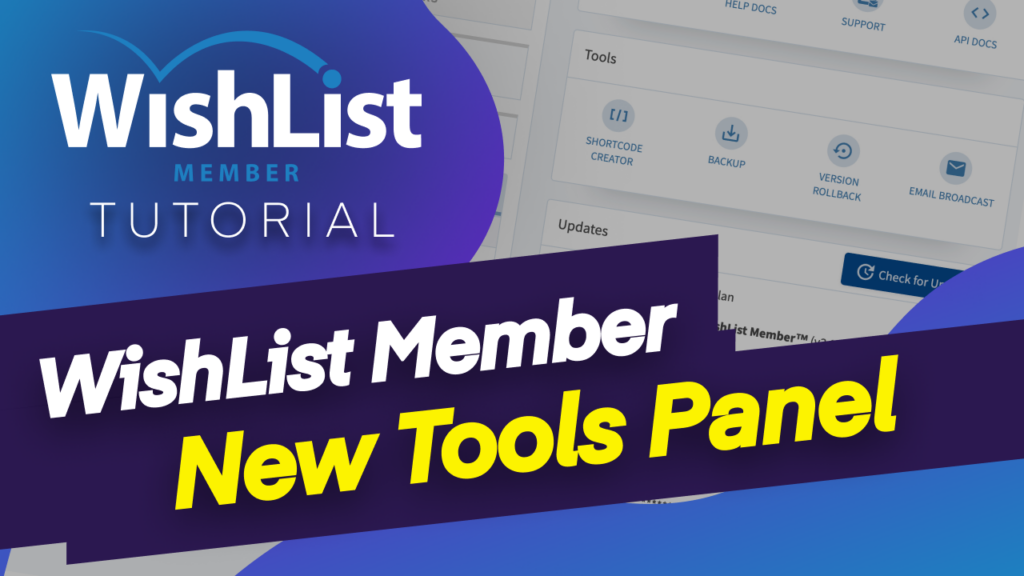
In today's video, we're going to take a look at the brand new Tools Panel in WishList Member
Coming up.
Hello, everyone, and welcome. My name is Mak, and in today's video, we're going to take a look at the brand new Tools Panel in WishList Member. All right. So what you're going to do here is to switch over to our website and here it is. So if you click now here on WishList Member, this is now going to display our dashboard as normal. But if you take a look here, you're going to see this tool's panel, which we didn't have before.
Now, it has quite a lot of interesting things here which are now easier to find. And to be honest, this just saves me a lot of time, and I'm sure it'll save you a lot of time as well. Now, if you'll recall, I did a tutorial before where I was trying to add some shortcodes onto our pages on our side. And I had to go into a page, go into the Gutenberg editor and then choose the classic block.
And this is where all the Shortcodes were. But this time, everything is all here. It is much, much easier now to use. And if I click here on Shortcodes created, now you can see all our merge codes are here. So let's say I'm looking for the log in. I can just come over here and here is the login form and so on. And we also have these shortcodes here as well for registration forms. So if you wanted to create a registration form, a custom page, this is where you would come and this is the actual shortcode you need to copy.
And if you wanted to choose a specific Membership Level, you can click on this dropdown, choose it here and there we go. This is right there. We also have these integrations and here we can see we have this registration button. We also have this VIP registration button. So these are custom registration buttons, which you can add. And these are all from our membership's that I've already created on my site. But we're going to do a tutorial which goes in depth and show you how this can be used.
All right. So over here now, this one is easy. This is just a back up so if I click here on “Back Up.”This will do a backup of pretty much my WishList Member settings, my members or my content. So if I check all of these and click on backup, this will now back up and I can always restore it at any time I want. So back over here, let's look at the next item. And this is the Version Rollback.
Now, there are cases where WishList Member may conflict with other Plugin on your website. Now, if this does happen, all you have to do now is to come over here to this Version Rollback. And it's very, very easy for you to roll back to a previous version of WishList Member that worked well on your site. So I'm really excited that these options now are right there on our dashboard and very, very easy to find. Next, we have the E-mail Broadcast.
So if I come over here to broadcast, this now gives us the opportunity to add all our emails. If I click on this plus button, I can now create all my emails here and send it to wherever Membership Level I need to send it to. So this is pretty much very, very easy now to find. But previously we would have to go into administration here. So basically what we've done here is to give you some very short, quick buttons to go to these settings in case you may need to use them right away.
So as you can see, these Tools Panel is very, very useful when it comes to finding your way around these tools that I've just gone through. In the next videos, I'll be showing you how to use, especially the shortcode creator to create your own custom landing pages now that we have this shortcode creator right in our dashboard. All right, guys, that's all I have for you in today's video. Thank you very much for watching. If you like this video, please don't forget to subscribe and bell notification.
By doing so, you'll be notified when we release new tutorials until next time. Thanks for watching and I'll see you in the next video. Take care.


