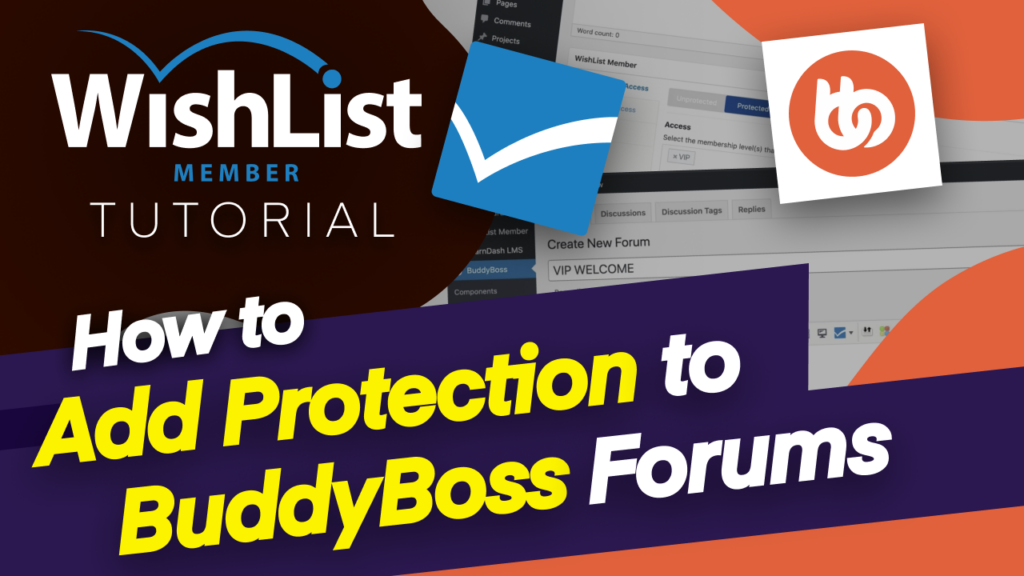
In today's video, I'm going to show you how to add a forum on your membership website using BuddyBoss.
Coming up.
Hello, everyone, and welcome. My name is Mak, and in today's video, I'm going to show you at a forum on your membership website. Now, when it comes to adding a forum, this is something that is very, very important because you can allow people to communicate and ask questions. And this becomes your central place where you can communicate with your members. And also you can allow members to communicate among themselves and respond to each of those questions.
So in my opinion, this is a very good addition to your membership website. So let me show you how to set it up in BuddyBoss. So over here, I've got I've clicked you on BuddyBoss. So you do need to go to “Components” and “Activated.” So I'm going to come all the way down here and you can see we have “Forum Discussions.” So what you need to do now is to “Activate” it. Great. So now that it is activated, we can go to settings and now you can just go in and say, OK, “Disallow editing after five minutes…” or whatever it is.
Usually, I just leave this as it is. And we also have “Forum Features”, here. So all these are checked by default. So you can allow, you know, discussion tags, subscriptions, and so on. Now, moving on, you also have “Discussion” and a “Replies” page. And we also have “RSS” and the “Directory.” Now, on this “Forum's Prefix.” You also need the Forum Index, which is the main landing page for your forum. And as you can see here, this is going to be my extension since I've recently activated it.
So pretty much there's nothing much to make changes to here. All right. So to take a look at your forums page, this is where you need to come to the URL will now be whatever your domain is, forward slash forums. So as you can see, I haven't set up any forums yet, so I need to go back here and set up my forums. Right. So now that I've gone into the settings, I can now come over here and create my forum.
So I'm going to start here by creating a brand new forum. And let's call this “VIP.” OK, “VIP Welcome.” So this is going to be my main forum. Now notice that content protection is disabled for this post type. That is because we don't have we haven't activated the protection, but we can “enable” content protection here. So that means. If we come over here, we can say protected, and let's say we want “VIP members to access this,” we can just apply it just like that.
So this forum now is only accessible to VIP members. So as you can see, this is really, really awesome. You can create a forum and this is only accessible to anyone or any group that you've created over here. Now let's hit “Publish.” So this is for the “Welcome.” And here on the discussions, if I come over here to the discussions tab, I can also add a new discussion. So let's say, “WishList Member,” let's say that's the first discussion I'm going to “Publish.”
Now, you notice here that we also need to “enable” content protection. So it's up to you if you want to protect these actual discussions as well. So this is where you can go in and set them up. But what I would do here is I'll go to this forum back here on this forum and also here on “Automatically apply protection to new content under this forum.” I would “Activate” that and then “Protect existing now.” Click on “Yes.” And then “Apply.”
So what this does now is when there are any other forums that I add, which is under this main forum, which is “VIP welcome,” they will automatically be protected because they become a child of this main forum. So this is the advantage of doing it that way. So you can add as many forums as you want. And by the way, in the previous video, I showed you how to add your system pages. This is where you would come and click on “System Page”s and choose your “Error Page” for anyone that tries to access this forum without the right permissions.
OK, so now that I've set this up, if I add a new forum, I want you to notice what happens so we can say “Supports” so let's say this is my second forum. If I hit “Publish,” now I have two forums that are published. Next, I'm going to come over here, refresh this page so we should see our forums now showing. And here we go. So I have the “Welcome VIP.” I also have the “Support” and these are the two main forums that I've created.
So if I go in here to “Welcome VIP,” I'm ready to go in and start a discussion title and continue to post all my content over here. And other people who have access to this VIP level or this VIP forum can also go in and respond to my comments or add whatever comments they need to add on that. And this is how access will be applied to this particular forum. But remember, only people with VIP access will only be able to access that forum because we set all the permissions right at the bottom of the page.
So it's important that you go in and set your settings right from the get-go. Otherwise, the forum will be open to pretty much everyone. So WishList Member is able to go into these forums and apply the protection to these forums and also the discussions. So it is very, very powerful. So don't forget to also add your error page so that people can go to that page and get further instructions. All right. So that's what I want to show you in today's video.
Thank you very much for watching. And I'll see you in the next video. Take care.


