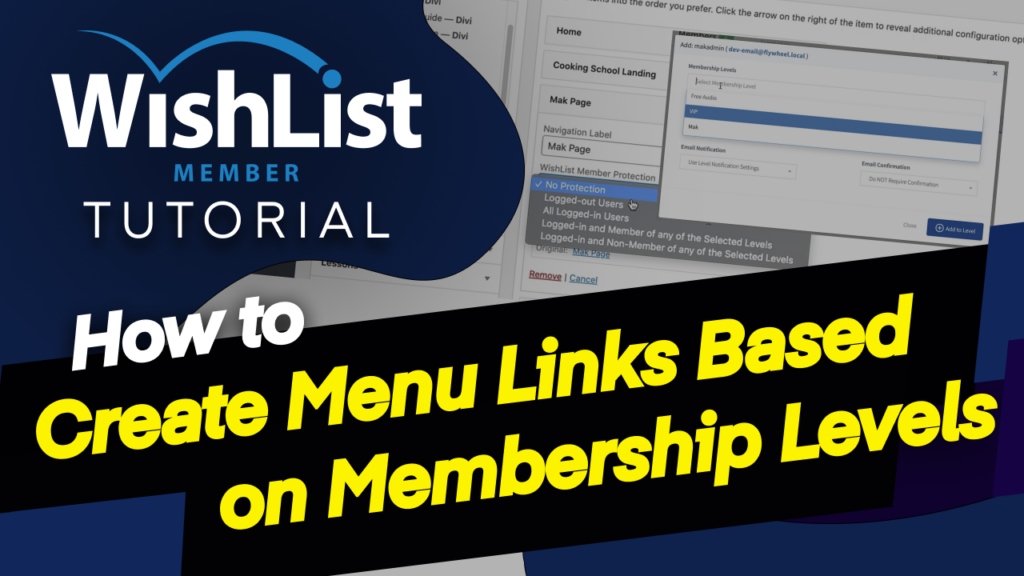
One of the most exciting things recently was the addition of how to show your menu based on Membership Level. So in today's video, I'm going to show you how to set that up. Coming up.
Hello, everyone, and welcome. My name is Mak, and in today's video, it's all about customizing your menu based on Membership Level. All right, so let's dove in and let me show you how to do this. I'm going to pretty much make sure that I've created the pages that I need. So what you want to do is to create the pages. Let's say, for example, you have live training that is only accessible to, say, VIP members.
So you want to make sure you create that page first. Or let's say you have a dashboard and this is the main landing page which people access as soon as they log in. So, again, this page has to be created first, because if you try to apply what I'm going to show you without creating these pages, it won't work. So I've gone ahead and I've created a dashboard page and I've also created a page for live training.
OK, so now the other part that makes also this work is you also need to have the Membership Level. So in this case here, if I come to WishList and go to my dashboard, it actually shows me all my Membership Levels. And here you can see I have the Membership Level called “Free Audio”. I've also got “VIP” and I've also got “Mak.” OK, now let's head over to our menu. Now that we have all these things set the pages and the Membership Level.
So over here now if we go to our menu and also I almost forgot, you want to make sure you're running the latest WishList Member version because this is what has this update. All right. So over here now, you want to hover over where it says appearance and then click on menus. So here now on menus, this is where you would come over here and select the pages that you've created and add them onto this list. So I've already gone ahead and done that.
And you can see here, I've got this live training and also the dashboard page. OK, now here's the thing.
When you click here on this dropdown, now you have this WishList Member protection. Right at the moment, it's set to no protection, which means that anyone can see this link or this page.
So now when I click on this dropdown, I have to now decide which Membership Level sees this page. And this is very, very powerful. I mean, you can see how this can make your website really flexible and also very easy to use for your members.
Now, here's the thing. So I want my members here to be logged in and a member of a selected level. OK, so now I'm going to click here and I'm going to choose my Membership Level. So I want this page only to show for VIP members. So now I can select my Membership Level and it's VIP. And you can also add multiple levels here if you wanted to. But mine is OK with VIP. I'm going to click on Save Menu.
Now, let's say I also want this page here called Dashboard to show only for logged in users because it makes sense that way because if you have a dashboard which only shows for everyone, even if they're not logged in, it's not very good usability on your website because they're seeing a dashboard which they can't even operate because you have to be logged in anyway to access all those things on the dashboard. So this is why we need to make sure that this page is only for logged-in users.
So let's go ahead and fix that. So back over here on our page now, before I do that, I'd also like to just quickly visit our website so you can see this menu right now. So I've just opened my site in a new tab and now you can see Dashboard is showing here. OK, so this is fantastic. It's showing. But what we want to do now is we want this page only to show for logged-in users.
So I'm going to click on this dropdown and you can see here, WishList Member protection says no protection. So if I click here on this dropdown now, I can say for logged-in users, OK, so this means this is going to be only accessible to anyone that has logged in. So now I can go ahead and save my menu. So if I come to my page here and refresh, this will show because I am logged into my website.
OK, but notice that the VIP is actually not showing. So one way to make it show is to make sure that I am set to the VIP level. So let's come back over here to our dashboard. So we're going to go to the members. And here so far we have three members or three users. This one is mine. So I am Mak Admin. This is the main one. So let me add myself to a Membership Level VIP, “Add to Level.”
OK, so now that I've added myself to the VIP level, I should be able to see that link now, which says live training. So I'm going to refresh. There we go.
So live training is now showing because I'm part of that Membership Level. This is very, very exciting. I'm really excited about this feature. Now, let's see what happens if we try to view this site in Incognito Mode. Is it going to show live training and is it going to show the dashboard page? So let's go ahead and see what that looks like. So copy this URL here.
And now let's open a New Incognito Mode or New Incognito Window. OK, so that's my URL. So let's see what happens now. OK, there we go.
So you can see here the dashboard is not showing and also that VIP page is not showing either. So that means that this is working fantastically. So what I would highly recommend for you is to make your site easier to use for your members. You need to start using this feature on my own website. I also use WishList Member, and I've been struggling to show the page where I would like people to download some of the templates that I'm giving away for free.
Right. So I would have to really send emails out and send the link to where they need to download it. But now it's easier because when they log in, they are going to see that link on the navigation.
So which means they can click on it and it is there for them. And the good thing about it is I can actually choose what link to show based on the Membership Level. So you want to make sure you go in and set that all up and also you can show some of your pages based on if they are logged in or if they are logged out. And this is also a very, very, very powerful feature. It just makes your menu look more organized and it won't have too much going on on it.
So I would highly recommend that you go in and use this feature in this manner. All right, guys, that's all I have for you in today's video. Thank you very much for watching. And I'll see you in the next video. Don't forget to hit the subscribe and bell notification. By doing so, you'll be notified when new tutorials are released. All right.
Take care. Bye-bye.
