Want to provide an exclusive experience for members of your WordPress website? The key (quite literally) is a user login feature. No membership or subscription site is possible without one.
Contents
We’ll show you the easiest way to create a website with membership login.
Building a website with a member login feature can seem daunting, especially if you're not well-versed in coding.
But thanks to the versatility of WordPress and the availability of powerful plugins like WishList Member, it’s more accessible than ever.
Whether you’re looking to create a sense of community, protect premium content, or monetize your platform, this step-by-step guide will empower you to create a fully functional membership site tailored to your needs.
No passwords or secret codes needed to create a sleek, branded login page like the one below. Just read on!

Why Having a Login Page is Useful
Creating a website with a membership login isn’t just a neat feature—it offers a wealth of benefits that can transform your online business. Let’s delve into why it’s so beneficial:
1. Access Control: A login page helps control access to your website’s content. Only registered members can log in and view exclusive content, ensuring your premium content is protected.
2. Personalization: Membership logins allow you to offer personalized user experiences. Knowing who your users are enables you to tailor content, recommendations, and interfaces to individual users, enhancing their experience on your site.
3. Community Building: A login page can create a sense of community. Users feel more connected when they are part of a membership group, which can increase user engagement and loyalty.
4. User Data Collection: Having a login page gives you access to valuable user data. You can track user behavior, preferences, and interactions, which can inform your marketing strategies and content creation.
5. Monetization Opportunities: If you’re running a subscription-based business, a membership login is a must. It allows you to set up tiered membership levels, offer exclusive content or benefits, and generate recurring revenue.
Incorporating a login page on your website offers a strategic advantage, whether your aim is to create an engaged community, offer personalized experiences, or protect and monetize your valuable content.
How Login Pages Work in WordPress
Before we delve into the process of creating a login page, it’s helpful to understand how they operate within the WordPress ecosystem.
1. Default Login Page: WordPress comes with a default login page, typically accessed by appending ‘/wp-admin’ or ‘/wp-login.php’ to your site’s URL. This page provides access to the backend of your WordPress site for all users with the appropriate credentials, whether they’re administrators, editors, or subscribers.
2. User Roles and Capabilities: When a user logs in through the WordPress login page, they’re granted access based on their role. WordPress includes several predefined roles (such as Administrator, Editor, Author, Contributor, and Subscriber), each with its set of capabilities.
3. Custom Login Pages: While the default login page is functional, it’s often desirable to create a custom login page to provide a more seamless, branded experience for your users.
With a custom login page, you can control the design and functionality and integrate it into your site’s theme.
4. Membership Plugins: To transform your WordPress site into a membership or subscription site with tiered access levels, you’ll need a WordPress membership plugin.
These plugins work alongside the WordPress login system, restricting content access based on the user’s membership level and offering features such as payment handling, subscription management, and more.
How to Create a Site With Member Login
The easiest way to create a login page for paying subscribers on your WordPress website is with a membership site plugin.
Best of all, you don’t need to know any code to create a beautiful, branded login page for your members.
We’ll show you how it’s done with WishList Member.
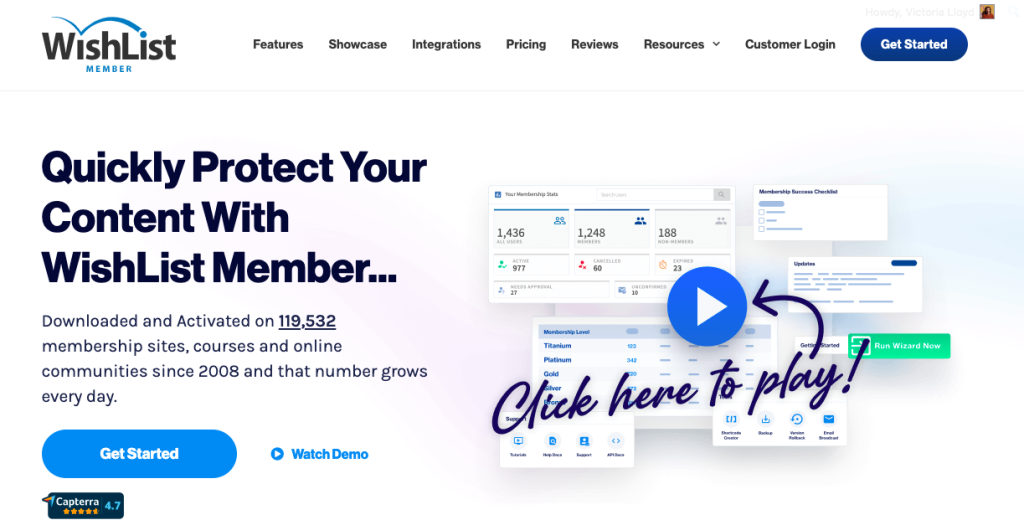
WishList Member is a powerful membership plugin for WordPress, allowing you to create a membership site with ease.
With its user-friendly interface, you can set up various membership levels, protect content, and provide exclusive access, all without any coding knowledge.
WishList Member also Seamlessly integrates with popular payment gateways. It’s an ideal solution for those looking to build a professional membership site quickly and effortlessly.
Step 1: Install WishList Member
Purchase and Download
Visit the official WishList Member website, choose your desired plan, and purchase it. Once completed, download the plugin's zip file.
Upload the Plugin to WordPress
Navigate to your WordPress dashboard, then go to Plugins > Add New > Upload Plugin. Select the downloaded zip file and click Install Now.
Activate the Plugin
After installation, click the Activate Plugin button to make WishList Member functional on your site.
Step 2: Follow the Setup Wizard
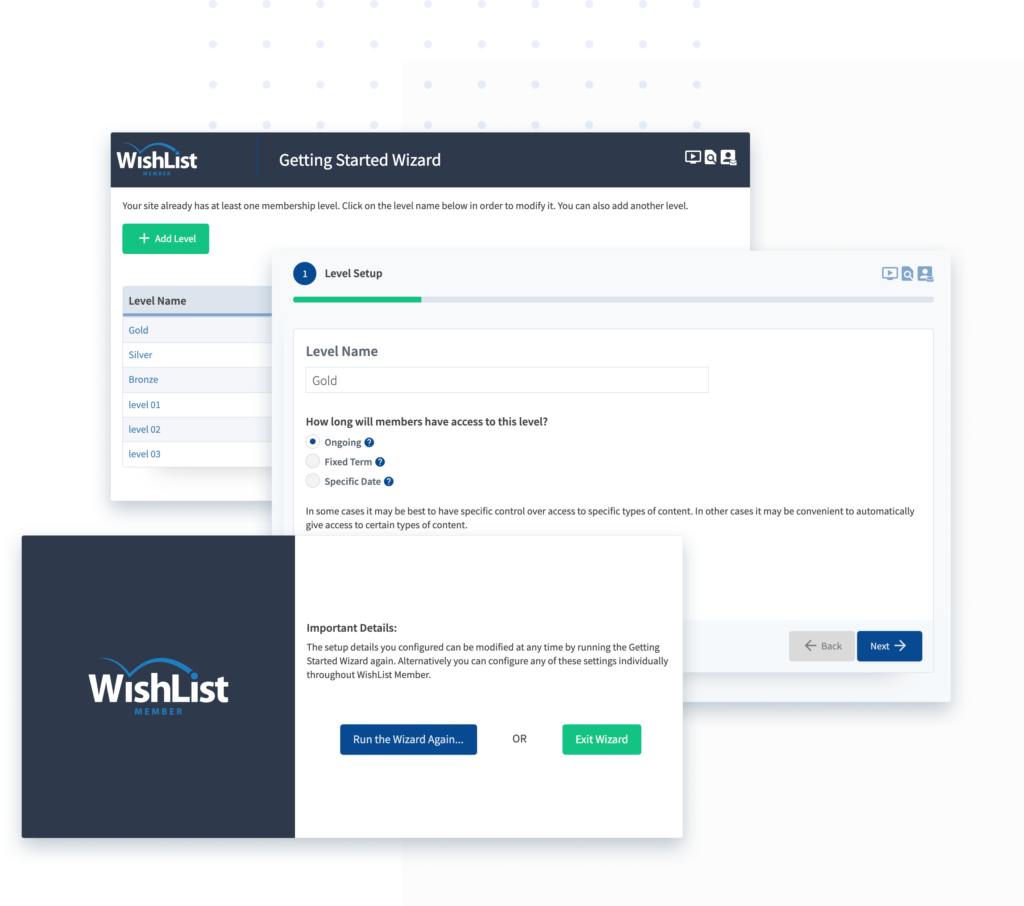
Go to WishList Member > Setup > Getting Started. From there you’ll be guided through a simple setup process that will walk you through the key configurations of your new membership site including:
- Enabling your license key to authenticate your purchase
- Creating a membership level
- Enabling integrations with payment gateways and your email provider
- Creating a registration page for free users
- Setting up a sales page for new, paying subscribers
The process is designed to be as quick and easy as possible, setting you up with a configured membership site in minutes.
Step 3: Create Your Login Page
Now you have everything you need to create a login page for your members!
Option 1: Classic WordPress Login
At this stage, the default login page for your membership site is a simple, functional, WordPress branded form. Like this:

You can view the WordPress login form for your site by adding /wp-admin or /wp-login.php to the end of your site's URL.
But if you want a sleek, branded login page that’s in keeping with the rest of your site you’ll want to punt for option 2.
Option 2: Customize Your Login Page
With WishList Member, creating a beautiful, branded login for your site is a cin
From your WordPress dashboard, go to WishList Member > Advanced Options > Logins and click the Styling tab.
Click the WordPress Login Page Styling slider to enable customization.

Below, you'll find various templates that make tailoring the WordPress login form swift and effortless. Choose a template that best matches your brand to get started.

Keep in mind, if you make modifications in this area, the system will also update the WordPress “Lost your Password” page to ensure a consistent look and feel.
Then click the Login Form tab. There you can …
- Upload your logo
- Change the alignment, width, background color of the box on your login form
- Adjust the text color, size and border thickness of the fields in your login form
- Change the color and dimensions of the login button.
If you don't have a logo yet, give Fiverr's try-before-you-buy logo generator a shot. In just a few clicks, you can get a professional looking logo that communicates your brand message.
Here is an example of a customized WordPress login page, complete with logo.

Not happy with any of the backgrounds from the template selection? No problem! Select a color to appear in your background image or upload an entirely new image of your own under the Background tab.
You can use a site like Unsplash to source high-quality royalty-free images. If you want to get more fancy with your design,
Option 3: Use the WishList Member Login Form Mergecode
Don’t worry! There is no coding necessary with this option. The Wishlist Member login form mergecode can be inserted into any page on your website within a text block.
Simply copy and paste one of the following options into your text editor and a login form will appear on your page:
- Standard login form mergecode:
[wlm_loginform] - Login form mergecode with AJAX error message:
[wlm_loginform ajax_login=1]
No matter which of these options you choose, this is how your login form will appear on your page:
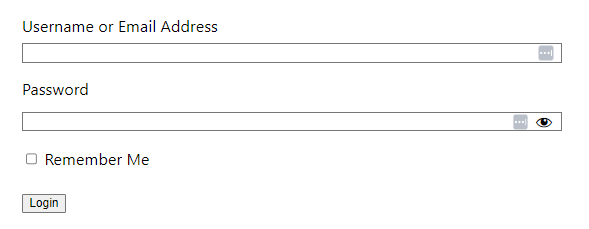
The standard login form merge code will redirect failed login attempts to the WordPress login page (or your customized login page if you followed option 2)
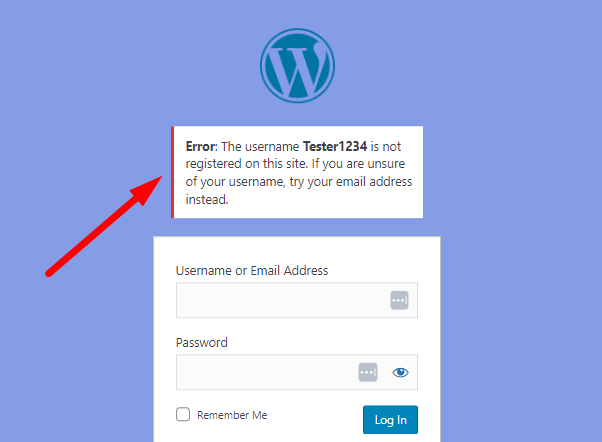
The login form mergecode with AJAX error message will keep users on the same page if their login attempt fails, and display the error message above the login form:
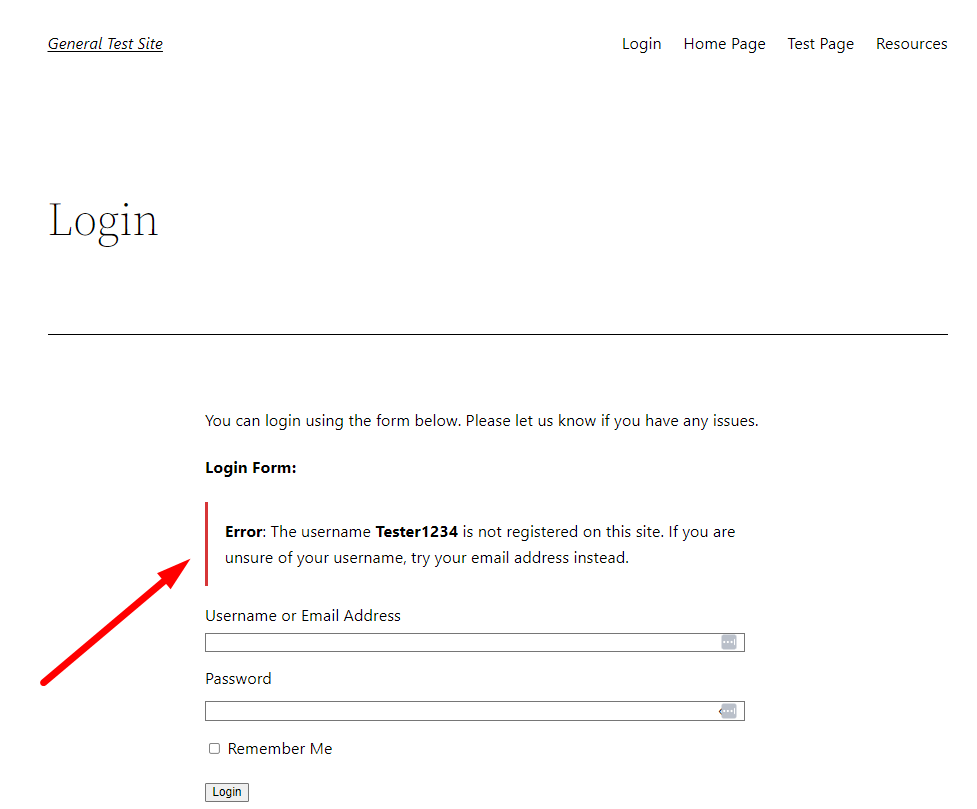
Whichever option your choose, using a mergecode to add a login form within pages on your site is a great way to optimize the user experience for your existing members, and make casual visitors aware of your membership program.
Summary
Creating a website with member login functionality opens the door to a ton of benefits such as access control, personalized user experiences, community building, and monetization opportunities.
In this guide, we walked you through the process of using WordPress and the powerful WishList Member plugin to create your own membership site without coding.
From understanding how login pages work in WordPress to installing WishList Member and customizing your login page, we covered all you need to get started.
Ready to provide an exclusive and engaging experience for your community? Sign up for WishList Member today and transform your online presence.


This Post Has 2 Comments
Having a member login looks like a good way to better track site membership. Your site looks very helpful for a lot of cool website tweaks!
This made the process so easy for a noob like myself! Thank you!