CourseCure includes a library of Badges that can be used. But, it is very likely you will want to create your own Badges at some point. You have the ability to create Badges using the images of your choice. This allows you to customize the Badges to your site.
We are going to address the following question:
How Do I Create a Badge?
—
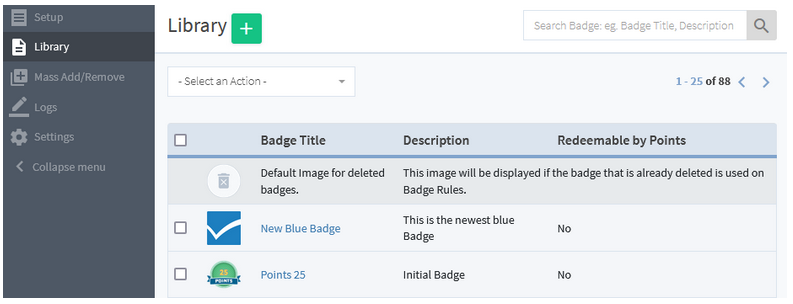
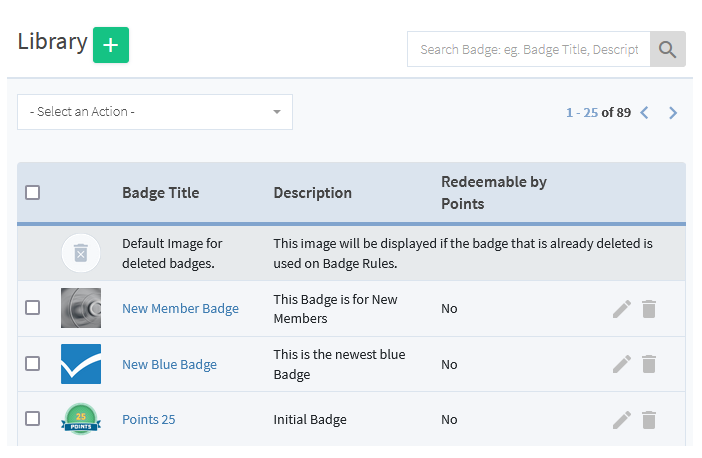
A Badge can be added in the Badges > Library section.
This will allow you to use that Badge just like any other Badge.
—
A new Badge can be created by clicking the green Plus button.

—
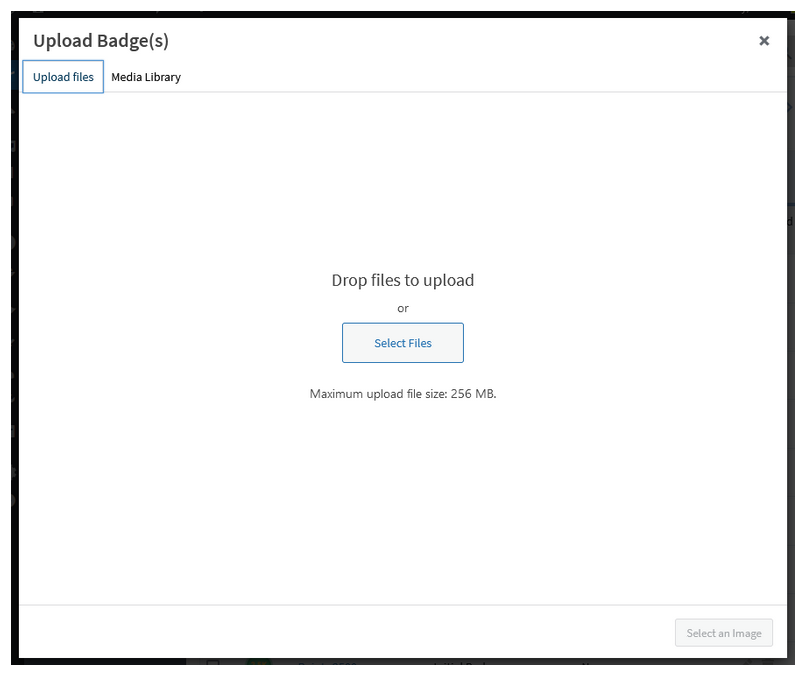
That will bring up the Upload Badge(s) pop up. This will display the WordPress Media section and a new image can be uploaded in the Upload files tab.
Click the Select Files button to find the image file on your computer or simply drag and drop the image file to upload.
—
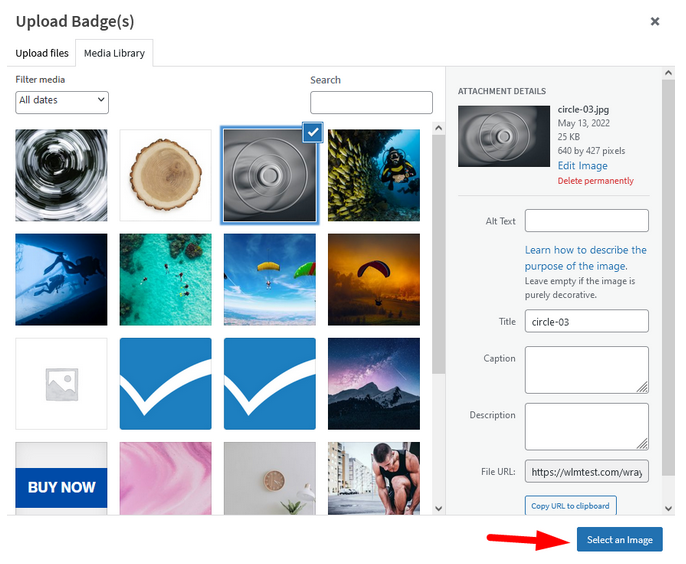
Once the file is uploaded, you can now click the image and then click the blue Select an Image button.
—
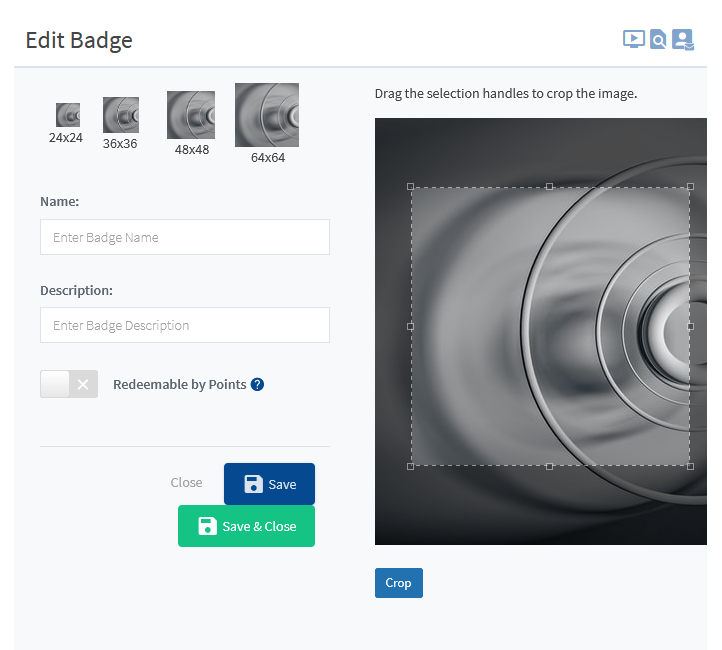
The Edit Badge section will now appear.
—
The Name and Description can be set for the Badge. The Description will appear on the list of Badges in the Library section.
The Drag tool can be used to crop the image and set the Badge how you want it to be displayed. You can select the entire image or only a portion using the crop tool. The blue Crop button needs to be clicked once the dimensions are set.
The four dimension examples show how the Badge will appear in those set sizes.
If the “Redeemable by Points” option is enabled, the Badge can be redeemed by Users with Points.
The blue Save or green Save & Close button can be clicked once all settings are configured.
—
The newly created Badge will now appear on the list.
—
The Badge can now be used like any other Badge.
—
More details on using Badges can be found in the Badges Setup Overview article.
—
