Content Archiver is part of the Content Control section in WishList Member.
The Content Archiver feature allows you to specify an Expiration Date for content that is assigned to a Level (or Levels). This means you select content to archive so only members who are assigned to the Level(s) during the time it was released will continue to have ongoing access to the archived content.
New members who were not a part of the Level when the Archived Content was released would not be able to access the content. That piece of content would not be accessible to others. It is only accessible to those who were members of the Level(s) during the set period of time.
—
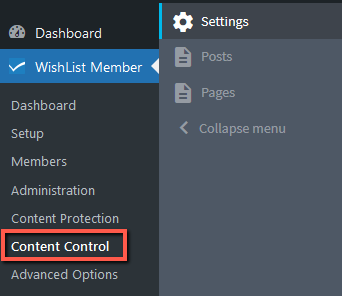
To get started, click on the Content Control menu option in WishList Member:
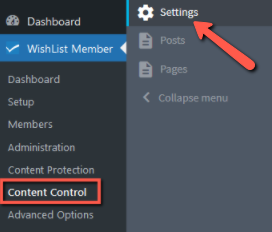
You’ll first need to make sure the Content Archiver feature is enabled, so click on the “Settings” link:
Then click the toggle to the “Enable Content Archiver”.

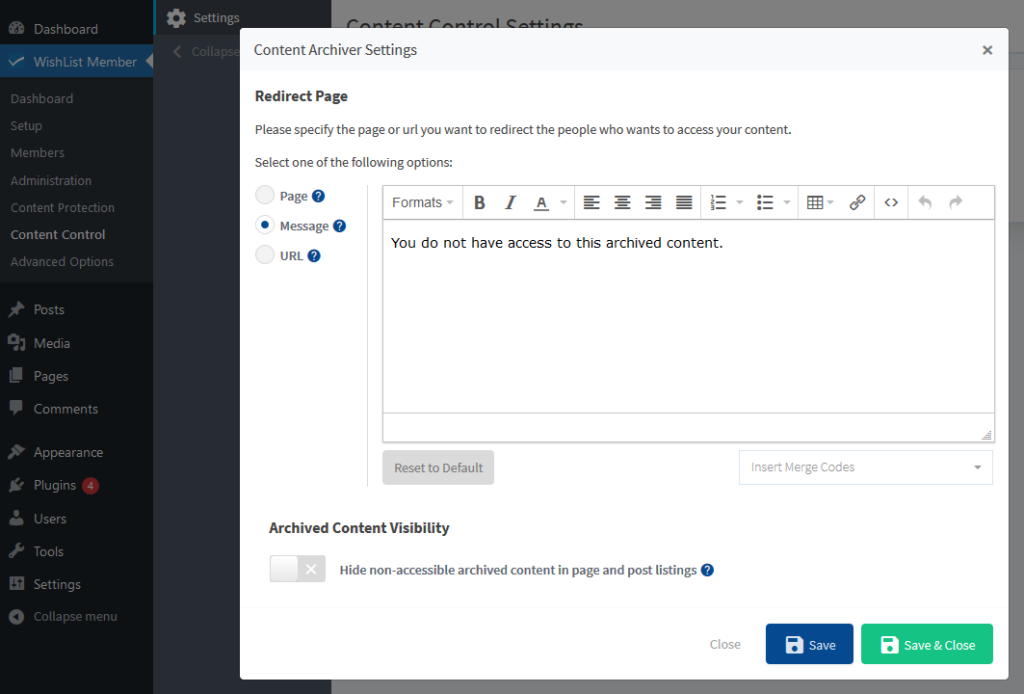
Once enabled, the blue “Settings” button will appear. Clicking this button allows for the adjusting of some general Content Archiver settings.

You can set either a Page, or a Message, or a URL to be shown to members if they try to access archived content they don't have access to.
A basic message is displayed by default. You can adjust the default message or select a Page or URL of your choice.
You can also select if you want to enable “Archived Content Visibility”.
Enabling this option will hide content from being displayed in page or post lists to members who joined the Level(s) after the archived date (non-accessible archived content). It will not hide it from being displayed to members who had access to the Level(s) before the archive date (accessible archived content).
—
Once you close that box, you can now select the type of content you'd like to control. This is typically Posts or Pages. But if you (or another plugin you’re using) has created any custom post types for your site, those will be displayed here as well.

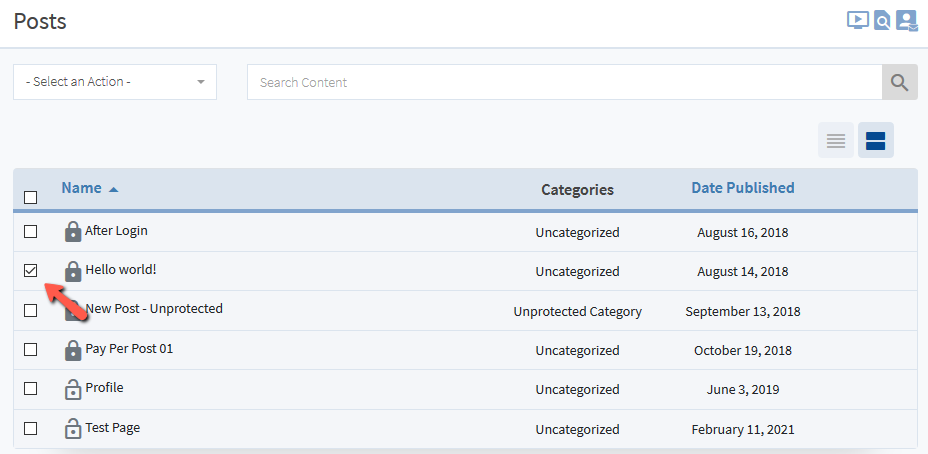
For this example, we'll work with Posts. You'll see a list of Posts and you can select the specific Post you’d like to work on:

The Content Archiver functionality can be applied to one or more Posts at a time. Click the check box beside the Post(s) you want to edit.
You can now select “Set Archive Date” from the Select an Action dropdown:

A pop up will appear. Select the Level(s) you want to apply the Archive Date to. You can select one or multiple levels. Also set the Archive Date using the date picker.
Once set, click the green Apply button and then the blue Set Archive Date.
In this example, the Archive Date is being set to October 25th for the Gold Level.

You will now see the content has been set to be Archived for the Level on the specified date.

You can edit or delete the set Archive Date by clicking the icons that appear when hovering the mouse over the corresponding row.
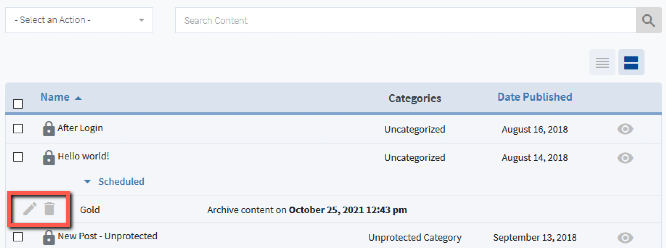
The content is now set to be archived. In this case, the Hello World! post will be accessible to members who join the Gold Level by October 25th. It will not be accessible to member who join the Gold Level after October 25th.
